


 SVITUA is a Ukrainian website that offers unbiased and reliable slot game reviews to help players make informed decisions.
![]()
Stop the search. In our ranking you will find the most trusted non-Gamstop casinos with the best bonuses for new players on the most lucrative terms.

1Win Argentina is an online betting and casino site catering specifically to Argentine players. It offers sports betting, virtual casino games, and slots, along with localized customer support and promotions. The platform is designed for ease of use and provides a secure, engaging gambling experience.
 Keep2Share Cloud Infrastructure DevOps service is a complete continuous integration/continuous delivery (CI/CD) platform for developers to simplify and automate their software development lifecycle. The Keep2Share Cloud Storage enables developers and operators to collaboratively develop, build, test, and deploy software
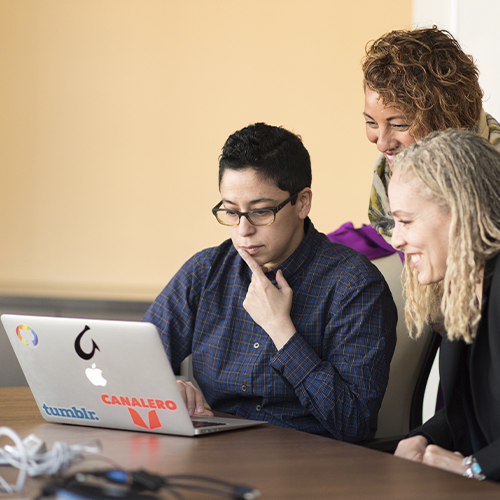
 Apply for do my Java homework help if you have problems with coding assignments, and our experts will help you any time. We work 24/7 for you.
  Don’t worry if you’re struggling with programming assignments! Our online service with programming experts offers programming homework help for all your coding needs. We provide reliable assistance to ensure your projects are completed successfully. Let us take the stress out of your programming tasks!
 For an immersive gaming experience, try exploring 1win’s lucky jet game.
 The best online casino Ice Casino: criteria for evaluating the license club
  Aviators is an innovative iGaming company that operates in Brazil, staying ahead of the curve with cutting-edge technology to provide customers with a superior gaming experience.
 The best virtual casino vulkan vegas casino: ways of choosing a game club
 Explore our curated list and take your brand to new heights with our trusted partners. Our featured branding agencies have a proven track record of delivering exceptional results for their clients.
 Hostingscams.com is the #1 resource for in-dept reviews of VPNs, Hostings and much more online services.
![]()
Find out how to understand which online casino is better than another. Additionally, you will find a list of top online casinos that have passed the seriousness tests.